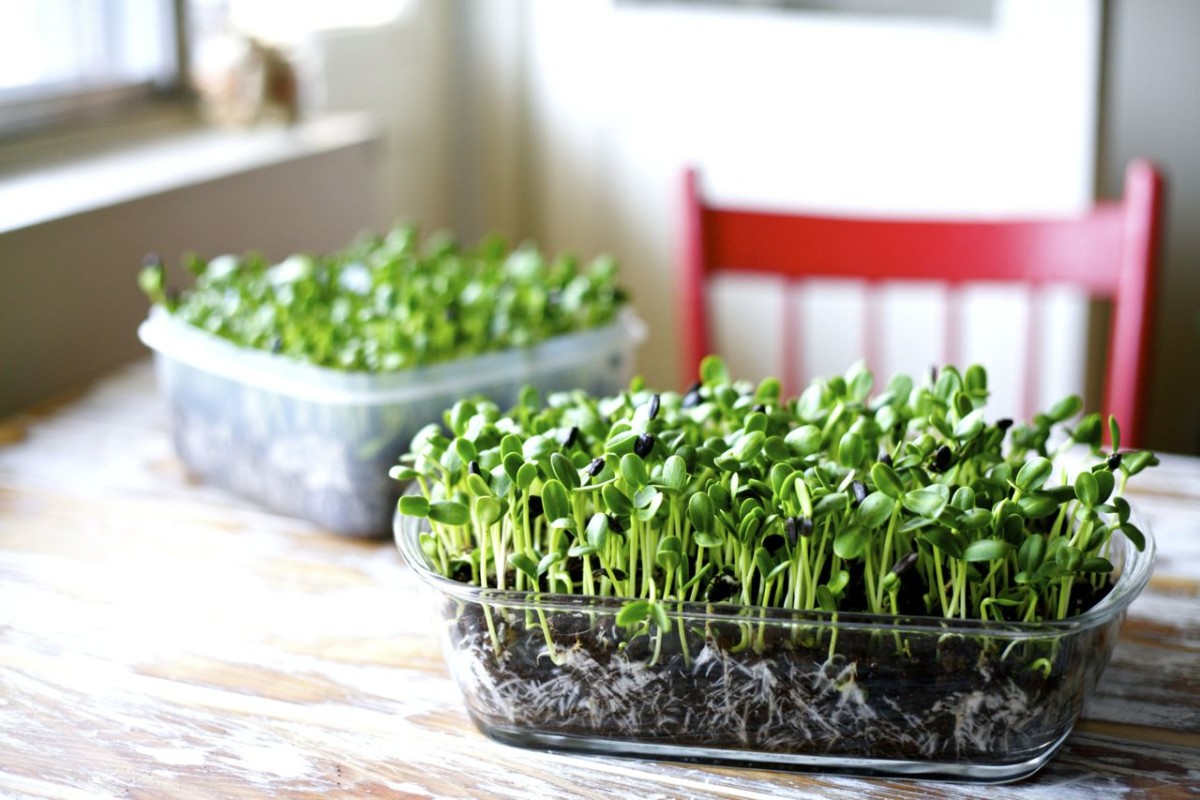
Microgreens are edible seedlings grown to the first true leaf stage. The green leafy vegetable, harvested after the cotyledon leaves (1st leaves) have developed, are not to be confused with sprouts, shoots or saplings. They are used both as a visual, as health boosters and as flavour components.
Served at fancier restaurants, these little packages of vital nutrients are easy to grow, easy to consume, have lower risk of food-borne illnesses and serve as an exotic garnish on your plate. Are you convinced yet that you need a batch of your own? Good. Now here’s how to grow them:
Step 1: Bring them home.
Buy organic, local, non-GMO, chemical-free seeds from the market.
Step 2: Give them a bed.
Get a shallow seeding tray (not more than 2 inches deep) or shallow pot with a drainage hole and fill to the top with light potting mix, such as one recommended for seed starting. Moisten lightly with water.
Step 3: Let them get cozy.
Sprinkle seeds evenly over the soil so they are close but not touching, piled or layered. Sift a thin additional layer of soil over the top just to cover the seeds. Use a spray bottle to lightly mist the soil.
Step 4: Feed them well.
Place trays in southern- or western-facing windows in rooms that are between 60° and 70°F. Avoid drafty spots. Keep the soil moist with a daily misting, ideally in the morning. Don’t let the soil dry out.
Step 5: Keep them sun-bathed and hydrated.
Once the seeds have germinated (i.e., poked up through the soil), which should take 3 to 5 days, make sure your emerging microgreens get 12 to 14 hours of light per day. (At darker times of year and in certain regions, you might need to invest in a grow light.) Keep the soil moist at the roots, but try not to saturate the leaves.
Step 6: Harvest!
When seedlings have reached 1 to 2 inches in height and have about two sets of leaves, snip and eat. Sprinkle microgreens on your breakfast toast, toss them in a salad, or even use them to garnish soup.
What kind of soil do I use?
Red soil mixed with cocopeat (20:80 ratio) serves well. Or they can be grown in water alone (hydroponic) without using any soil or nutrients.
How often should I water the Plants?
It’s best if you lightly spray water at in the mornings and evenings. Be careful not to waterlog, or to let the soil dry completely. Expose to sunlight on a sunny window or it can grow under fluorescent light. A minimum of 4 hours of light, and then keep in cooling temperature.
What do I watch out for?
Damping off can definitely be a problem with microgreens. But that can be a result of two cultural factors: too dense of seed spacing in flats and zero air circulation. Water flooding can kill the microgreens. We suggest the use of spray bottles only to wet the microgreens. Sometimes, extra water can lead to growth of fungus in the soil.
The best measures growers can take to prevent disease are to pay close attention to temperature, humidity, growing medium, selection and spacing. Because there is such a short growing cycle with microgreens, the seedlings themselves aren’t treated with any type of pesticide.
What do I stand to gain from microgreens?
Microgreens contain high concentrations of nutrients compared with mature vegetables and herbs. Due to their high antioxidant content, microgreens are considered a functional food, a food that promotes health or prevents disease.
In general microgreens have 5 times the level of vitamins and carotenoids of a mature plant. Researchers have found that some microgreens like red cabbage, cilantro and radish contain up to 40 times higher levels of vital nutrients than their mature counterparts.
While their nutrient contents vary slightly, most varieties tend to be rich in potassium, iron, zinc, magnesium and copper (2, 3).


